DTF (Direct-to-Film) transfer involves printing a design onto a transfer DTF film, which is transferred to a fabric using heat and pressure.
To apply a DTF Transfer onto fabric, please follow instructions below.
DTF Transfer Iron Instructions
To eliminate wrinkles and moisture, iron your t-shirt or any other garment.
Adjust the iron to the appropriate fabric setting, such as cotton, wool or nylon.
Cotton and cotton blends should be set to a high heat setting, whereas nylon should be set to the lowest heat setting.
If adhesion is not achieved, consider raising the temperature. It is highly advisable to conduct a colorfastness / discoloration test on the garment.
Test a discreet area by applying the chosen heat setting and pressing it for 10 seconds to determine if the garment will
experience color change with those settings.
Place the DTF transfer on the desired area and cover it with parchment paper or kraft paper.
Apply pressure using the iron on the DTF transfer for 20 seconds for cotton garments (10 seconds for nylon/polyester).
For larger images, work on it section by section, ensuring each part of the image is heated under pressure.
Let it cool for approximately 30-60 seconds or until it reaches room temperature.
After a cooling period, carefully peel off the film, ensuring that it effortlessly releases the printed image.
In case the printed image fails to adhere to the garment, apply heat pressure and cool once more.
Cover the transferred image with parchment paper or kraft paper and apply pressure with the iron again for 15 seconds.
Your custom t-shirt or garment is now ready to wear!
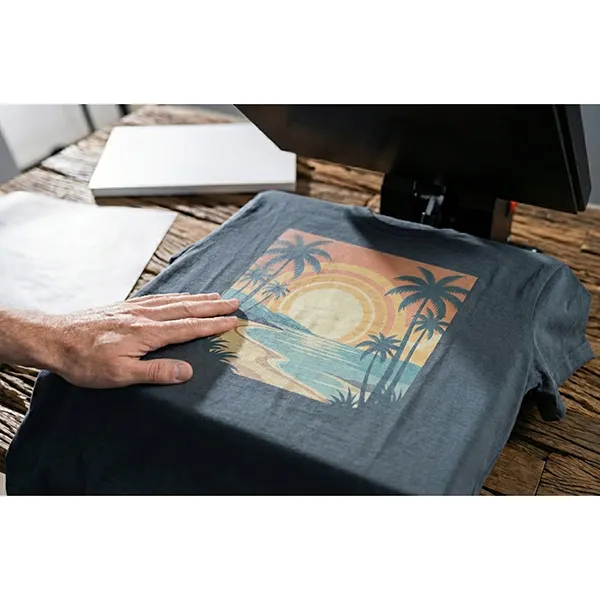
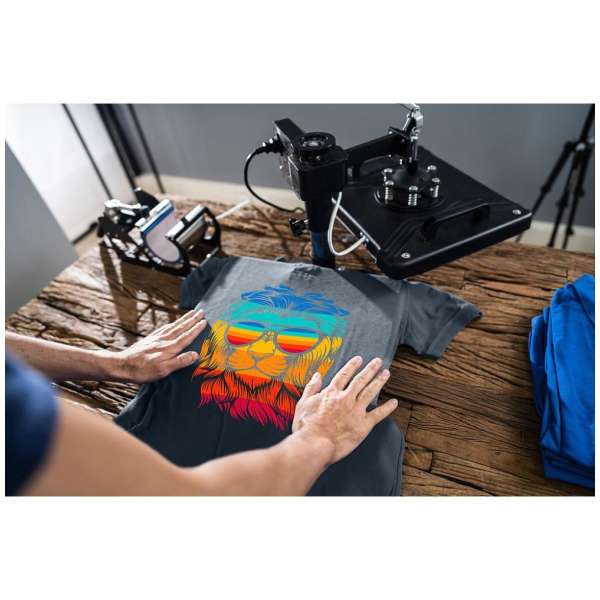
DTF Transfer Heat Press Instructions
To get rid of wrinkles and moisture, press your t-shirt flat for 5 seconds.
Set the heat press temperature to 325F for cotton, with medium (60 lb) pressure.
Place the DTF transfer on the desired area and cover it with parchment paper, kraft paper, or a Teflon cover sheet.
Apply pressure for 20 seconds for cotton garments.
Remove it from the heat press, let it cool for approximately 30-60 seconds or until it reaches room temperature.
After a cooling period, carefully peel off the film, ensuring that it effortlessly releases the printed image.
In case the printed image fails to adhere to the garment, apply heat pressure and cool once more.
Cover the transferred image with parchment paper, kraft paper, or a Teflon cover sheet and heat press it again for 15 seconds.
Your custom t-shirt or garment is now ready to wear!
Temperature / Time Settings:
Cotton: 325F / 20 seconds
50/50: 300F / 15 seconds
Tri-Blend: 275F / 15 seconds
Poly: 275F / 10 seconds
Hats (poly): 250F / 5-8 seconds
Thicker fabrics may require more heat / time.
Custom DTF Transfer Print Service
We will print a custom DTF transfer with your unique image or logo! All you need to do is upload your design, and we'll handle the printing and delivery.
Once you receive it, just apply it to your preferred clothing item using an iron or heat press, and you're all set!